Woo Navigation Tutorial

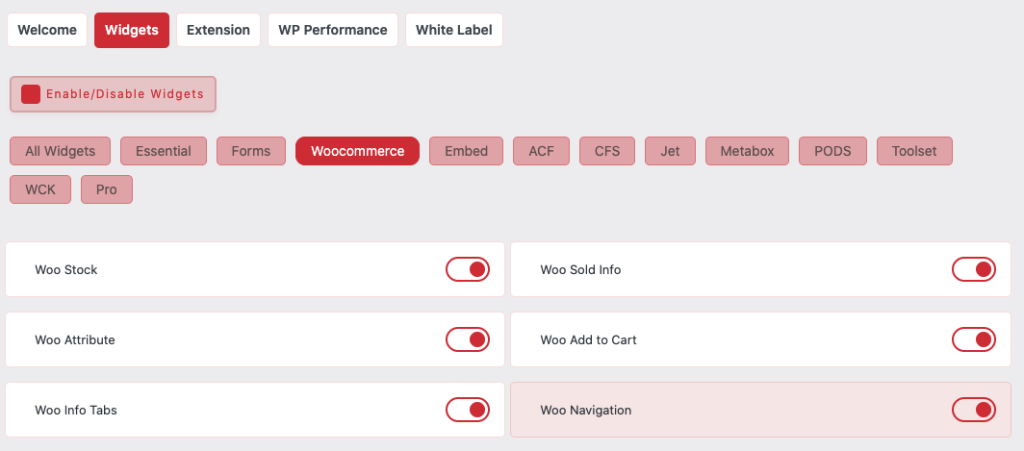
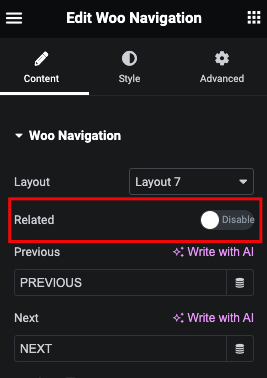
Essential Classy Tab from Dashboad -> Widgets then enable Woo Navigation Widget

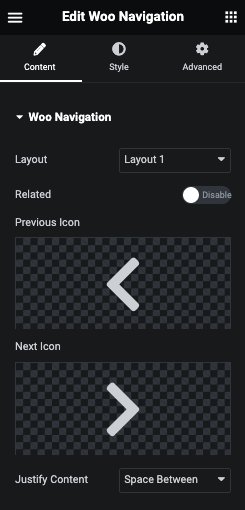
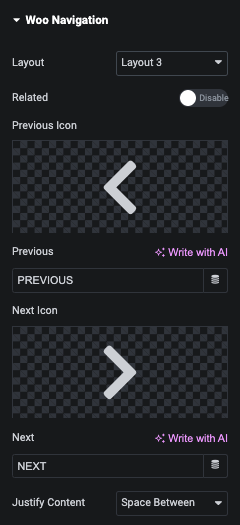
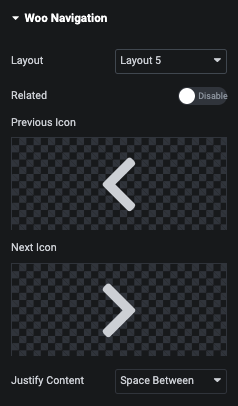
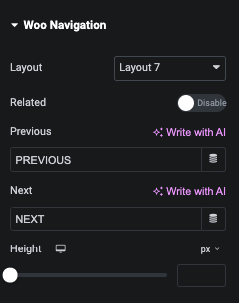
Now Drag and Drop Woo Navigation widget

Woo Navigation - Layout 1

In Layout 1, We have Simple Next Previous Arrow based layout.

Woo Navigation - Layout 2

In Layout 2, We have Simple Next Previous Text based layout.

Woo Navigation - Layout 3

In Layout 3, We have Simple Next Previous Arrow and Text based layout.

Woo Navigation - Layout 4

In Layout 4, We have Simple Next Previous Arrow, Text and Product Title based layout.

Woo Navigation - Layout 5

In Layout 5, We have Simple Next Previous Arrow and Product Title based layout.

Woo Navigation - Layout 6

In Layout 6, We have Simple Next Previous Product Image, Text and Product Title based layout.

Woo Navigation - Layout 7

In Layout 7, We have Product Image as Background and In overlay We shows Next Previos Text and Product Title.

Woo Navigation - Style Tab

In Style tab, We have Text, Title and Image options.

Woo Navigation - Text Style

In Text Style tab, You can manage Previous and Next Alignment with Minimum Width option. And You can manage Margin, Padding and It’s Typography.
Also, You can manage Color, Background, Border, Shadow and Text Shadow for Normal and Hover State.

Woo Navigation - Title Style

In Title Style tab, You can manage Previous and Next Alignment with Minimum Width option. And You can manage Margin, Padding and It’s Typography.
Also, You can manage Color, Background, Border, Shadow and Text Shadow for Normal and Hover State.

Woo Navigation - Image Style

In Image Style tab, You can manage Previous and Next Image Alignment option. And You can manage Margin, Padding and It’s Size.
Also, You can manage Background, Border and Shadow for Normal and Hover State.

Woo Navigation - Related

Using this option, You can manage Next Previous for Related Product.