Table of Content Widget Tutorial

Essential Classy Tab from Dashboad -> Widgets then enable Table of Contents

Now Drag and Drop Table of Contents widget

Table of Contents

Content Selector

You’ll need a contentSelector that targets the container with the content you want to generate a TOC from. It could be something like #article or .blog-post.

Select Tag

The Select TagΒ allows you to target specific heading levels (e.g. h1,h2, etc.) in your document for creating a Table of Contents (TOC). This gives you flexibility in choosing which headings to include in the TOC.

Heading Active Offset

The Heading Active Offset is useful when you want to adjust the position of headings relative to the viewport when scrolling. This is often necessary when you have a fixed header (e.g., a sticky navigation bar), as the heading can be obscured when the page scrolls to that section.

The Heading Active Offset will apply a scroll offset so that the heading is positioned correctly, ensuring that it’s not hidden under a sticky header or other elements.

Collapsed Sub

This is particularly useful when you have a large TOC and want to initially hide some child to save space, allowing users to expand them when needed.
Smooth Scroll Duration
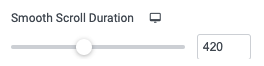
Allows you to control the duration of the smooth scrolling effect when navigating to a section of the page via the TOC. This can help make the user experience more fluid and pleasant by adjusting how fast or slow the page scrolls when a TOC item is clicked.

Fixed

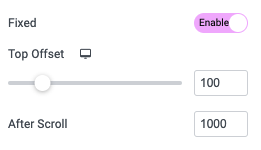
Useful for keeping the Table of Contents (TOC) in a fixed position while scrolling. This can be particularly handy for long pages where you want the TOC to always remain visible, regardless of how far the user has scrolled.

Using Top Offset, You can manage gap from Top.

And in After Scroll, You can manage TOC Fixed after offset of Scroll.

Ignore Selector
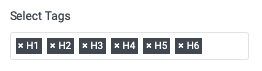
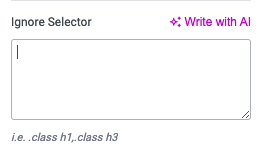
Allows you to exclude certain headings or elements from being included in the Table of Contents (TOC). This can be useful if you have certain headings (e.g., subheadings, metadata, or hidden elements) that you don’t want to appear in the TOC.

Layout

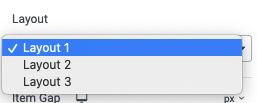
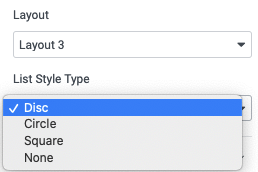
We have Predefined Three Layout

Layout 3 – List Style Type

Using Item Gap, You can manage Gap Between Heading.

Style Tab

Item – Style

In this tab, You can manage Typography of Heading.

Also, You can manage color for Normal, Hover and Active State of Item.

Before Line – Layout 1

In this tab, You can manage Line Width and Line Offset.

Also, You can manage color for Normal, Hover and Active State of Before Line.

Number – Layout 2

In this tab, You can manage Typography of Number.

Also, You can manage color for Normal, Hover and Active State of Number.

Dots – Layout 3

In this tab, You can manage Color of Dots.